You bought a cast iron grill griddle because you wanted burgers that do not fall through the grate and vegetables that stay put long enough to char. Then the first cook happened. The food stuck, the smoke smelled like burnt oil, and you spent twenty minutes scrubbing a surface that was supposed to be simple. I have seen that exact scene play out on my own back deck more times than I can count. The griddle was not the problem. The seasoning was. And fixing it starts before you put a single piece of food on the iron.
Utheer sells a 25 by 16 inch pre-seasoned cast iron griddle for gas and charcoal that gets a lot of first time griddle owners off to the right foot. The factory seasoning gives the metal a slick base, so you do not have to condition bare iron from scratch. What it does not give you is a finish that stays perfect by itself. Heat, moisture, and acidic foods work on that base every time you cook. Your job is to add thin layers of oil and turn them into seasoning before moisture finds the metal. This guide walks through the exact order I use on my charcoal kettle, and it works the same way on a gas grill with a few small changes.
Start With a Griddle That Has a Real Base
The Utheer 25 by 16 inch pre-seasoned cast iron griddle for gas and charcoal starts several steps ahead of bare iron, which means your first seasoning coats have something to grab. Check today's price on Amazon if it fits your grill.
Amazon Check Today's Price on Amazon →Why a New Griddle Needs a Seasoning Routine
Seasoning is a thin layer of polymerized oil, not a coat of grease. When oil is heated past its smoke point, it breaks down and bonds to the iron. That reaction is what makes cast iron nonstick. Each layer is so thin you can barely feel it, so the trick is to build many small layers, not pour on one big one. A properly seasoned griddle feels smooth to the touch and releases food with almost no effort.
What You Need Before You Start
Clear the counter before you light the grill. You need a soft sponge, a small amount of mild dish soap for the first wash, a lint free cloth or folded paper towel, and a high smoke point oil such as canola, sunflower, or grapeseed. You also need a little patience. Seasoning cannot be hurried, and a griddle that is rushed will remind you of it for the rest of the season.
Some people tell you to use flaxseed oil because it creates the most attractive finish. I have tried it indoors on a skillet, and I would not use it on a grill griddle. A flaxseed layer looks nice when it is first done, but it tends to flake once the griddle heats unevenly. A more forgiving oil like canola gives you a finish that can take a scrape and a rainstorm.
Do not let oil choice become a reason to delay. The temperature and the number of coats matter more than the brand on the bottle. Canola oil from the grocery store works fine for a grill griddle, and it is easy to keep on hand. Use what you have, keep the coats thin, and let the heat do the work.
Step by Step: Seasoning on the Grill
Step 1: Wash the Griddle Once Before You Cook
Even a pre-seasoned griddle arrives with a layer of oil and dust that has collected in the box. I wash it once with warm water and a tiny drop of mild dish soap before it ever goes on the grill. Use a soft sponge, rinse well, and dry it. That one wash will not strip the factory seasoning. It removes the loose stuff so your first coat can bond to clean iron.
If you are starting with a griddle that has sat in a cabinet for months or has light rust spots, wash it the same way, then rub the rusted areas with a fine abrasive pad until the orange color goes away. Rinse and dry. Once it is clean, do not let it sit wet while you light the grill. Have your oil and cloth ready before the first flame.
Where most new griddle owners go wrong is skipping this and going straight from the box to the fire. The factory oil can smoke and turn tacky, and you end up blaming the griddle for what started as a dirty surface. Ten minutes with warm water saves you a whole season of scraping.
Step 2: Preheat Slowly on a Low to Medium Fire
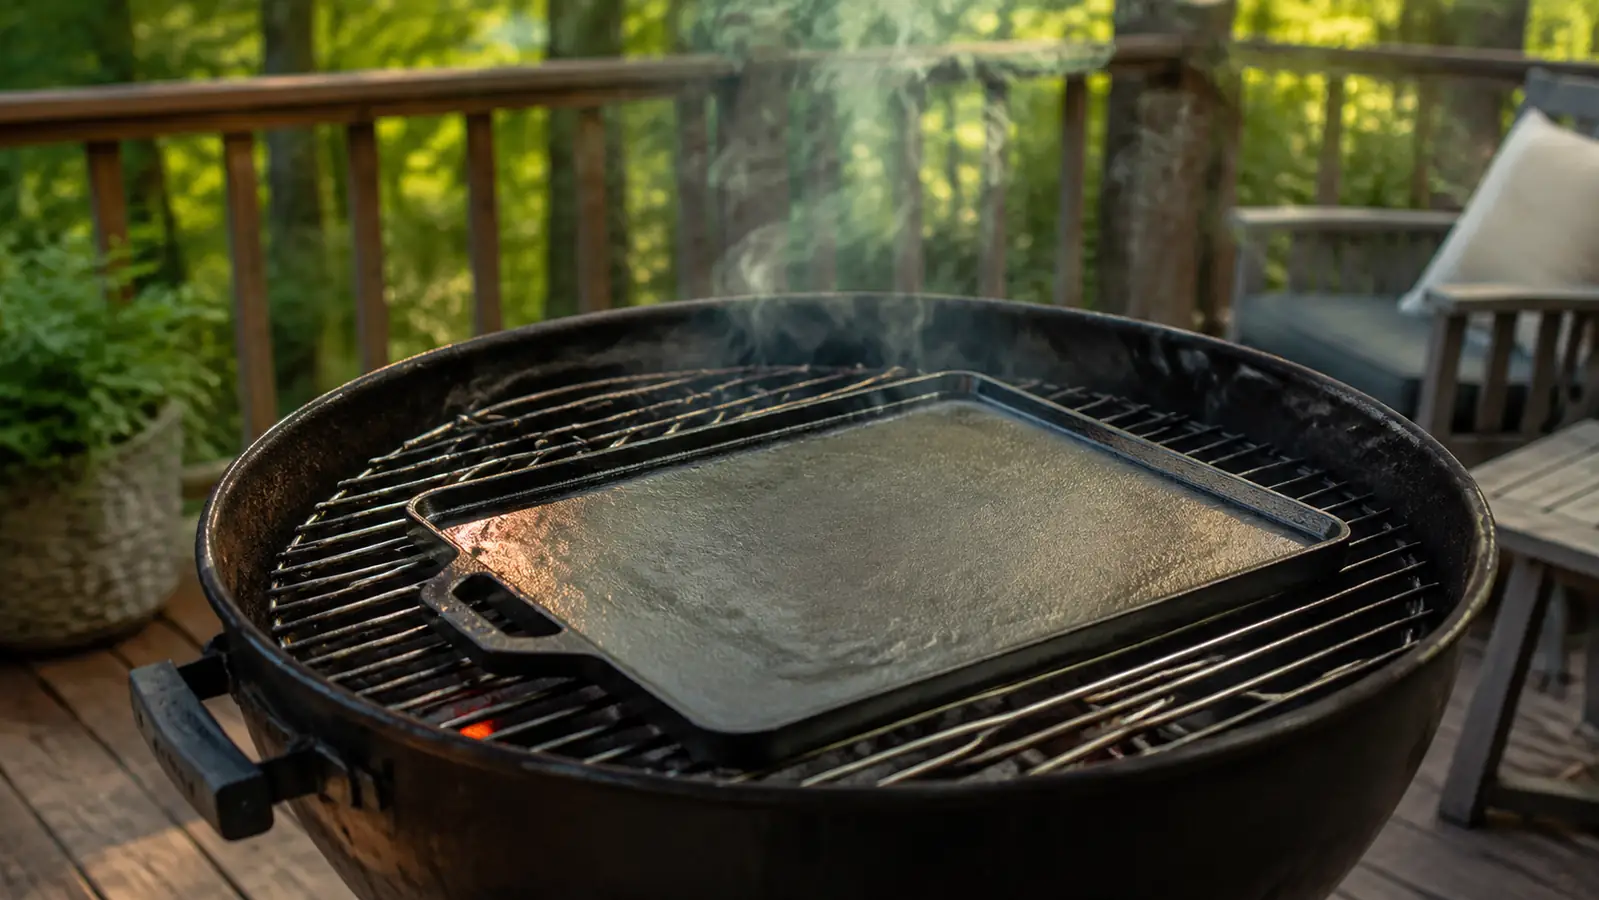
I run a small chimney of lump charcoal in my kettle and let it burn until the coals are gray. Then I spread them in an even layer and set the griddle directly over the fire. For the first seasoning pass, I give it about ten minutes on a low to medium fire. On a gas grill, turn two burners to medium low and set the griddle over them. The goal is iron that is warm but not smoking before the oil goes on.
Do not crank the grill to high to save time. Fast heat creates hot spots, and oil applied to scorching metal can burn unevenly, leaving patchy brown marks instead of an even base. If the griddle is so hot that a few drops of water dance and vanish instantly, it is too hot for your first coat.
Step 3: Apply a Thin Coat of Oil
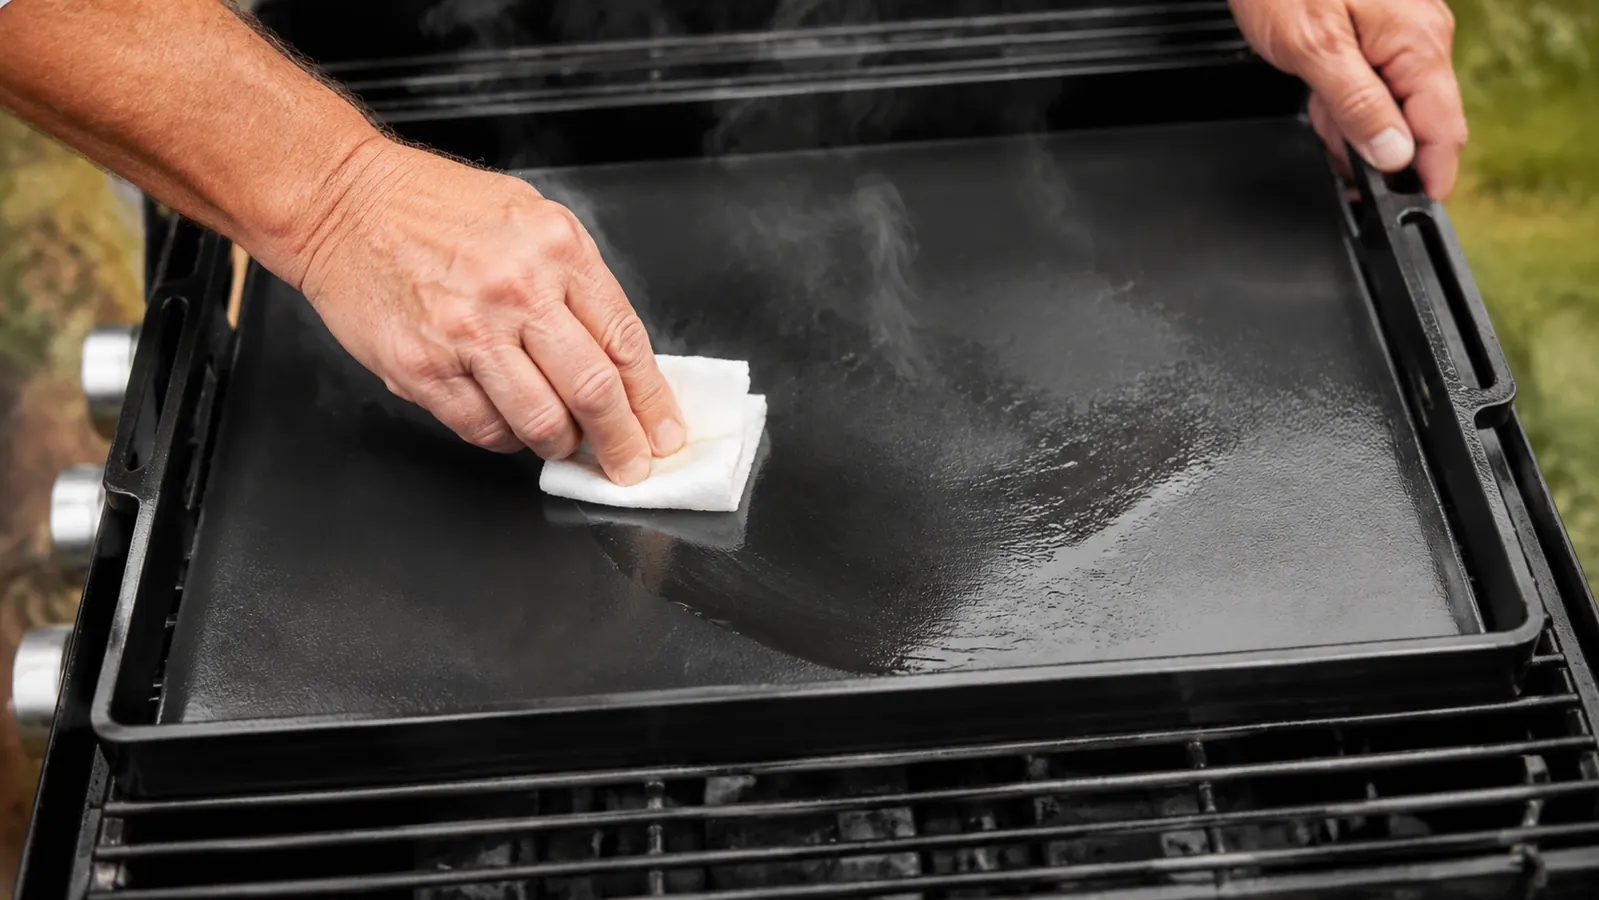
Pour about a teaspoon of oil onto the cooking surface. Use a folded lint free cloth or a clean paper towel and spread it over the top, down the low sides, and around the edges. The sides and edges need protection too. Water can work its way into bare spots and start rust before the middle of the griddle ever sees food.
Now take a clean corner of the cloth and wipe the oil again as if you changed your mind and are trying to remove it. The iron should look dry with only a faint sheen. If it looks wet or you can see a puddle, you used too much. Too much oil forms sticky spots that never quite set, and sticky spots collect food.
This is the step people rush. They pour a thick layer because more oil feels like more protection. The opposite is true. Thin coats harden into a smooth finish, while thick coats bake into a gummy layer. Wipe the oil off, then wipe it off again.
Step 4: Heat It Until the Oil Sets
Turn the heat up to medium and let the oil do its work. You will see a light wisp of smoke first. That smoke is the oil breaking down and bonding to the iron. Let it smoke for a minute or two. When the smoke turns wispy and blue instead of thick and white, that coat has set.
Shut the heat down or slide the griddle to the cooler side of the grill and let it cool enough to handle. When it is warm rather than hot, add another small spoon of oil, wipe it thin, and repeat the same heating process. Two or three coats are enough on a new griddle. The factory layer on the Utheer griddle counts as coat number one, so one good home coat before your first cook often works.
Do not walk away for too long. A covered grill can shoot past the smoke point and scorch the oil, leaving gray patches instead of a dark layer. Keep the lid open or check every few minutes. If you see heavy gray smoke or smell burnt oil, pull the griddle off, let it cool, wipe off the excess, and start again at a lower setting.
Step 5: Cool It Slowly and Store It Dry
After the last coat sets, do not cool the griddle with cold water or move it straight to a cold surface. Let it come down naturally on the grill or on the side with the fire off. A sudden temperature drop can make the seasoning flake. When the griddle is cool enough to hold, wipe it once with a clean dry cloth.
Store it in a dry place out of the weather if you can. I keep our griddle on a shelf in the covered part of the deck, away from rain and sprinklers. If you have to leave yours on an uncovered grill, wipe a very thin coat of oil over it before you put the cover on. Even a well seasoned griddle can flash rust overnight if water sits on the surface.
If You Cook on a Gas Grill
Most of this seasoning process does not care what kind of grill you use. Gas just makes the temperature easier to control. Light two burners on medium low, set the griddle over them, and leave the lid open while you watch the oil smoke. If the griddle gets too hot, turn the knob down instead of moving the iron. That is the main practical difference from charcoal.
On my charcoal kettle, I use one small chimney of lump charcoal and leave a cool spot on the side. If the oil starts smoking too hard, I slide the griddle to the cool side and wait a minute. On a gas grill, you have the same control with a knob. The oil and the griddle do not care which fuel created the heat. Both need the same thin coats and the same patience.
What Else Helps Keep the Seasoning Strong
A seasoning routine continues after every cook, not just on the first day. When the griddle is still warm, scrape it with a flat metal spatula or a plastic scraper to remove loose food. Add a small splash of water and let it steam while you scrape. Most stuck bits lift right off. Wipe the surface, dry it over low heat, and rub in a very thin layer of oil before you put it away.
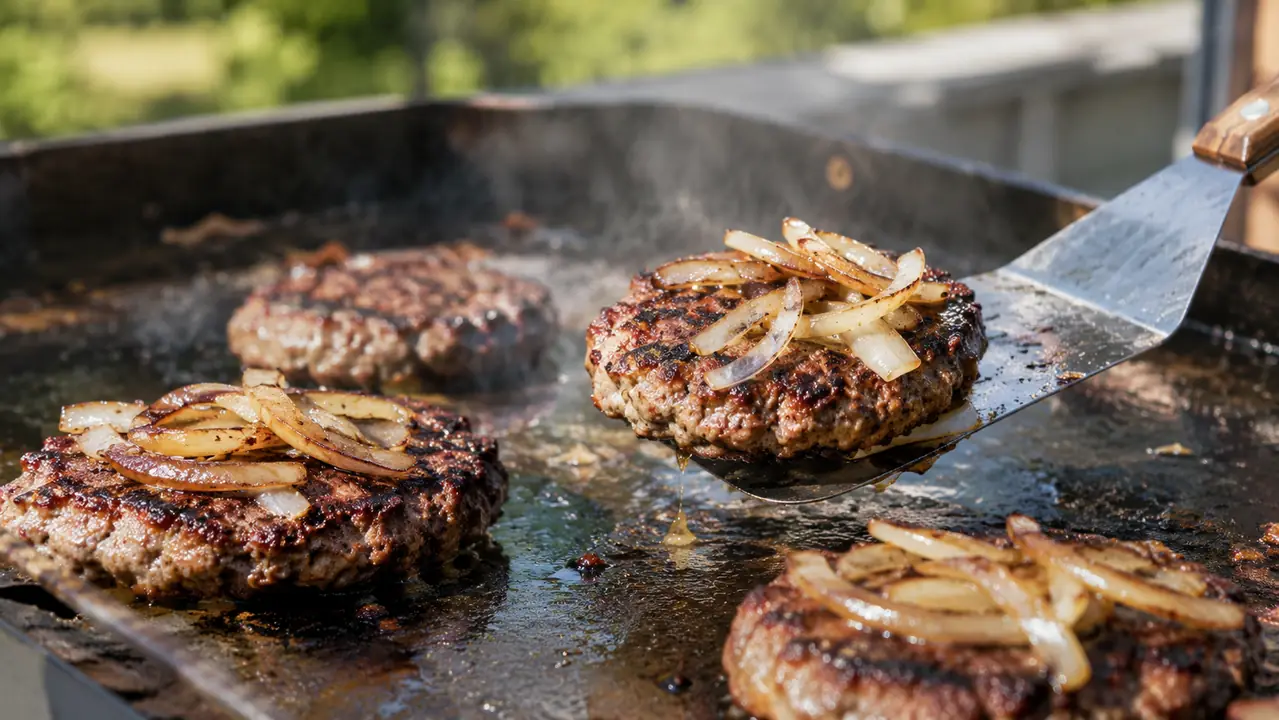
Hold off on long acidic dishes until the seasoning has had time to build. A quick slice of tomato or a squeeze of lemon over burgers is fine, but simmering a pan of tomato sauce directly on a fresh griddle can strip a new layer. Cook burgers, chicken breasts, peppers, and onions for the first month, then the surface will be ready for more aggressive cooking.
If a patch does turn sticky or a little rust shows up, do not panic. A sticky patch means too much oil. Set the griddle on low heat and let it cook off, then wipe it clean and do one thin coat. A little rust means the protective layer got wet. Scrub the rust off, dry it, and add two light coats. Cast iron is forgiving when you catch problems early.
The first time a burger releases after one clean spatula pass and leaves nothing behind, that is the seasoning working. You built it one thin coat at a time.
Make Seasoning Part of the Cook
You do not need to do three full seasoning passes every weekend. The full process matters when the griddle is new or after it has been stripped. Between normal cooks, a quick post cook dry and a light oil wipe keeps the layer healthy. That tiny habit matters more than an elaborate once a year session.
People overthink cast iron. It only asks for three things: clean it, dry it, and keep a thin layer of oil on it. Do those three every time you use the griddle, and it will last longer than the grill it sits on. The factory seasoning on a Utheer griddle is a good start, but your own layers are what make it yours.
Give Your Griddle the Right Start
Seasoning is not complicated once you understand thin oil and slow heat. The Utheer 25 by 16 inch pre-seasoned cast iron griddle for gas and charcoal gives you a durable factory base to build on, and the routine above keeps that base growing. Check today's price on Amazon before you decide which griddle belongs on your grill.
Amazon Check Today's Price on Amazon →